
Installing LED RGB Computer Fans: The Latest Upgrade for Your PC
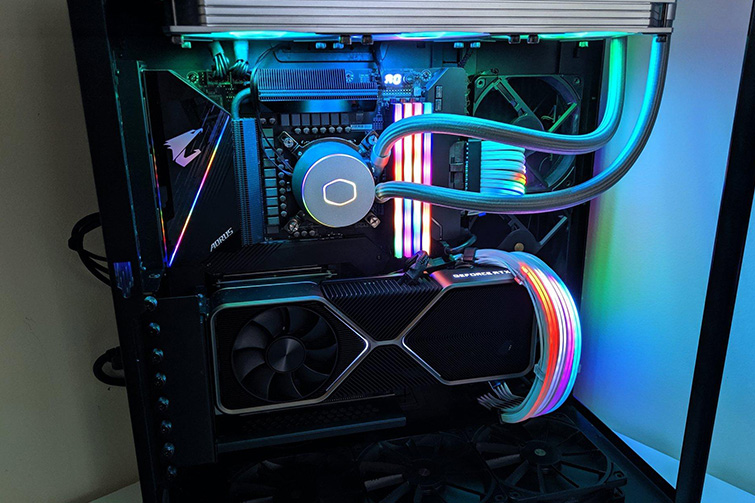
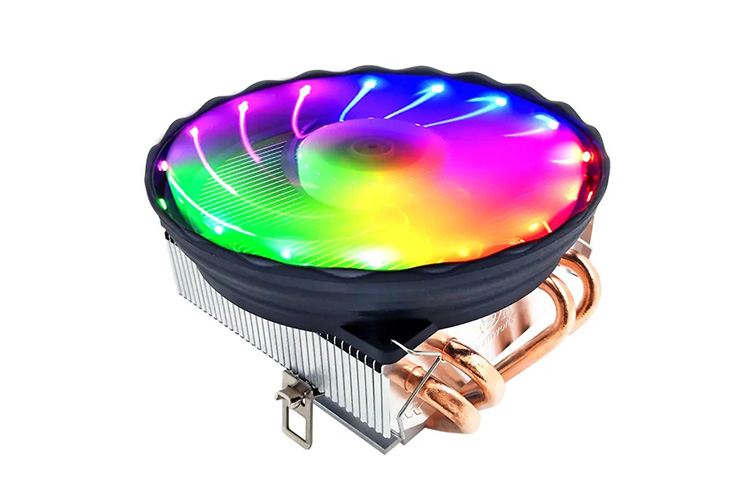
Upgrading your PC with LED RGB fans is a popular trend among enthusiasts and gamers alike. Not only do these fans improve your system’s cooling, but they also add a vibrant aesthetic touch to your build. If you’re considering this upgrade, here’s a guide to installing LED RGB computer fans as the latest component in your PC.
1. Why Choose LED RGB Fans?
LED RGB fans offer several benefits beyond their eye-catching appearance:
- Enhanced Cooling: High-performance fans improve airflow, helping to keep your system’s temperature in check during intensive tasks like gaming or video editing.
- Customizable Lighting: With RGB lighting, you can personalize your PC with a wide range of colors and lighting effects, often controllable via software.
- Aesthetic Appeal: RGB fans add a modern, stylish look to your build, making your PC stand out.
2. Choosing the Right LED RGB Fans
Before installing LED RGB fans, ensure that you select the right ones for your setup:
- Fan Size: Common fan sizes include 120mm and 140mm. Check your case specifications to see what size fits.
- Airflow vs. Static Pressure: Choose airflow fans for case ventilation or static pressure fans for cooling radiators and heatsinks.
- RGB Control Compatibility: Make sure the fans are compatible with your motherboard’s RGB software or a standalone RGB controller.
3. Preparing for Installation
Before installing your new fans, gather the necessary tools and prepare your workspace:
- Tools Required: A screwdriver (usually Phillips-head) and possibly some zip ties for cable management.
- Turn Off and Unplug Your PC: For safety, ensure your computer is powered off and unplugged from any power source.
- Plan Fan Placement: Decide where you want to install the fans. Common locations include the front, top, and rear of the case, depending on your cooling needs.
4. Installing the LED RGB Fans
Follow these steps to install your LED RGB fans:
Remove Existing Fans (if necessary): If you’re replacing old fans, unscrew them and disconnect any power cables.
Mount the New Fans: Position the fans in the desired location, ensuring they face the correct direction for airflow (intake or exhaust). Secure them with the screws provided.
Connect Power Cables: Attach the fans’ power cables to the appropriate headers on your motherboard or a fan controller. These are typically labeled as "SYS_FAN" or similar.
Connect RGB Cables: If your fans have separate RGB cables, connect them to the RGB headers on your motherboard or a standalone RGB controller.
Cable Management: Use zip ties or cable channels to organize the fan cables, keeping your build clean and unobstructed.
5. Configuring RGB Lighting
Once the fans are installed, it’s time to configure the RGB lighting:
- Motherboard Software: If your fans are connected to your motherboard’s RGB headers, use the manufacturer’s software (such as ASUS Aura Sync, MSI Mystic Light, or Gigabyte RGB Fusion) to customize the lighting.
- RGB Controller: If using a standalone RGB controller, follow the included instructions to sync and control the lighting effects.
6. Testing and Final Adjustments
After installation, power on your PC to ensure everything is functioning correctly:
- Check Fan Operation: Ensure all fans are spinning and that airflow is as expected.
- Verify RGB Lighting: Check that the RGB lighting is working and responding to your settings.
- Make Adjustments: If needed, tweak fan positions or settings for optimal performance and aesthetics.
Conclusion
Installing LED RGB computer fans is a great way to enhance both the performance and appearance of your PC. With proper installation and setup, you can enjoy better cooling and a visually stunning build. Whether you’re a seasoned builder or a first-time upgrader, LED RGB fans are a worthwhile addition to any modern PC setup.


